

9 Things Every Substack Writer Should Do Before Hitting the Publish Button
I am surprised by how many writers don't use these easy yet powerful tactics.

1. Adding alt text to images
Alt text, also known as alternative text, is a short written description of an image.
If you are a blogger or content creator, you might already know about this. But if you don’t, let me tell you, it is one of the most underused yet crucial ways to rank your content in search.
How?
When you add alt text to an image, you are essentially giving it a written meaning. This helps both search engines and visually impaired readers understand what the image is about.
In fact, Google’s own guidelines highlight the importance of descriptive alt text for accessibility and SEO. Yet most writers skip it entirely.
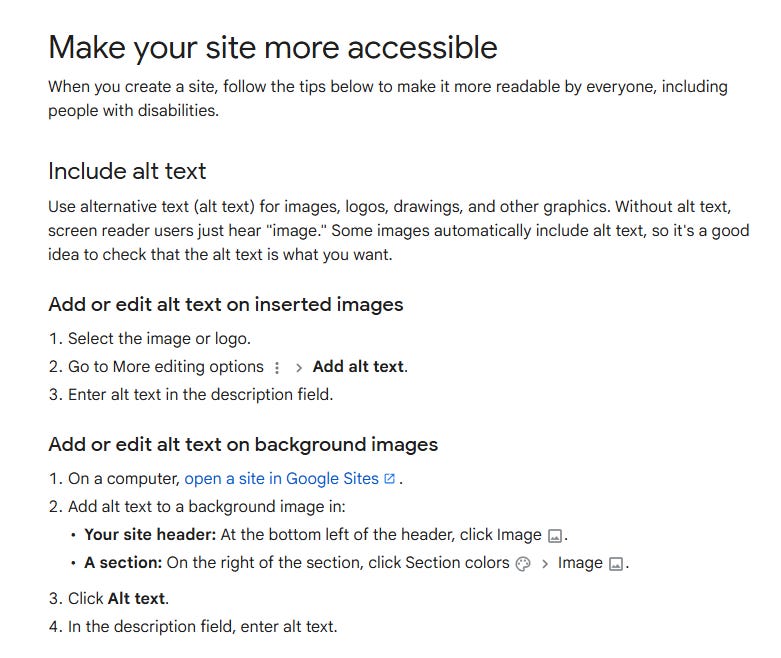
Now you know. So DO NOT skip it.
How to add alt text to your Substack images:
Click on the image you want to add alt text to.
Click on the three-dotted button that appears on the top right of the image.
A small menu will pop up. Look for the alt text field and click it.
Type your description directly, or use a chatbot like ChatGPT or Claude to generate one for you. Just prompt it with your image topic, and it will give you a clean description in seconds.
Copy and paste the generated text into the alt text field, and you are done!
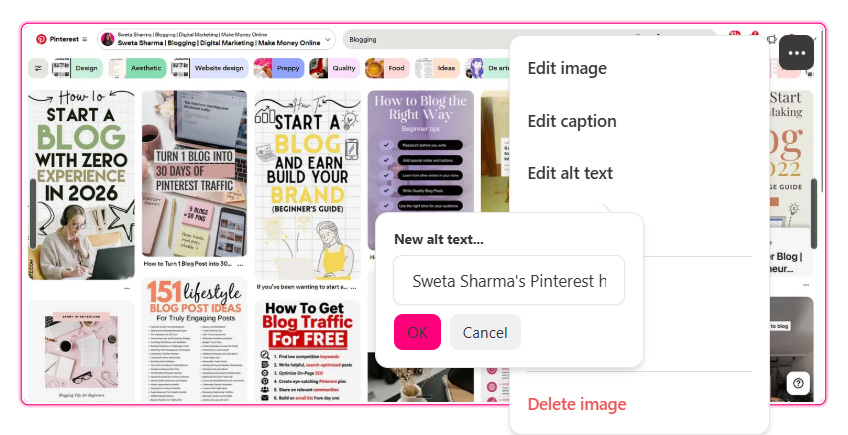
See, it’s that S-I-M-P-L-E!
2. Creating a cover image
Visuals are the heart of any content piece. Whether it is a video, a blog, a newsletter, or a social media post, visuals are what stop the scroll before your potential reader reads a single word.
So, you have to treat them that way.
Disclaimer: There is no one right way to create your cover image.
Different creators do it differently, and that is absolutely fine!
For example, Linda Caroll uses different image styles depending on the type of article she is writing.

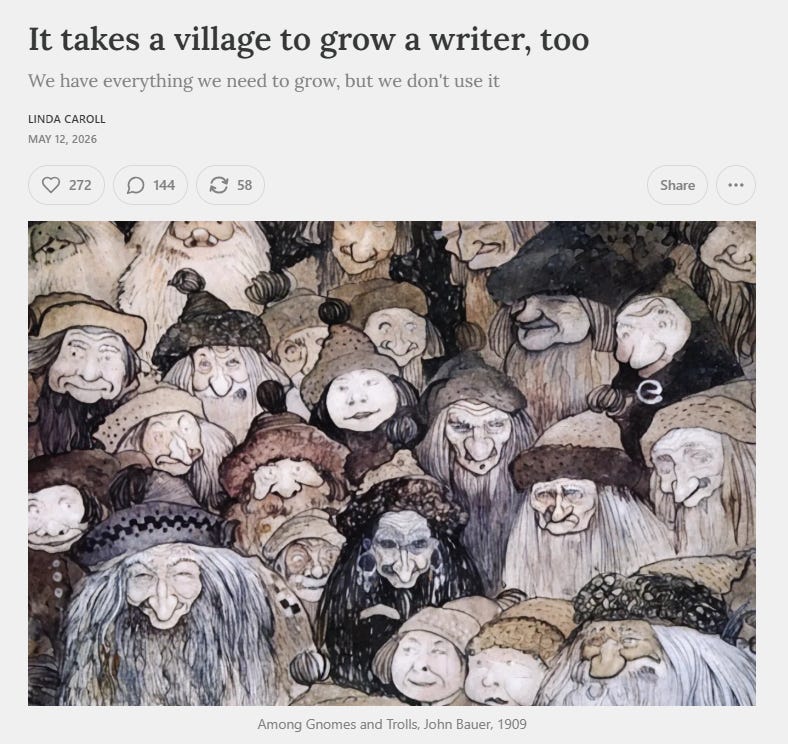
Tom Orbach has a very distinct visual style for his newsletter, and he makes sure every cover image stays consistent with that identity.
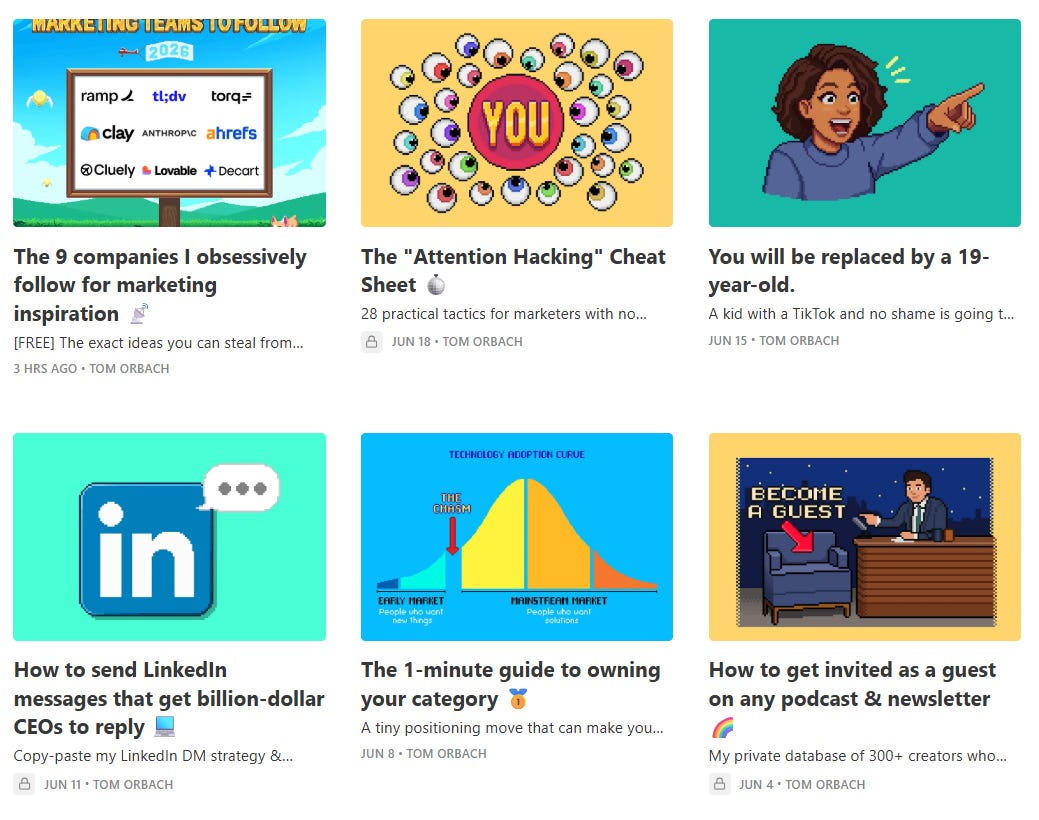
As for me, I used stock images for a while. Now I create custom images using my own face so my readers can instantly recognize my posts in the feed. Also, I want to develop some kind of memory equity by doing this. Let’s see if I succeed in that🙂
How to create a cover image on Substack?
If you are an illustrator or designer, create something original that reflects your newsletter’s personality
If you want free stock images, you can check these 27 best free stock images websites that allow commercial usage.
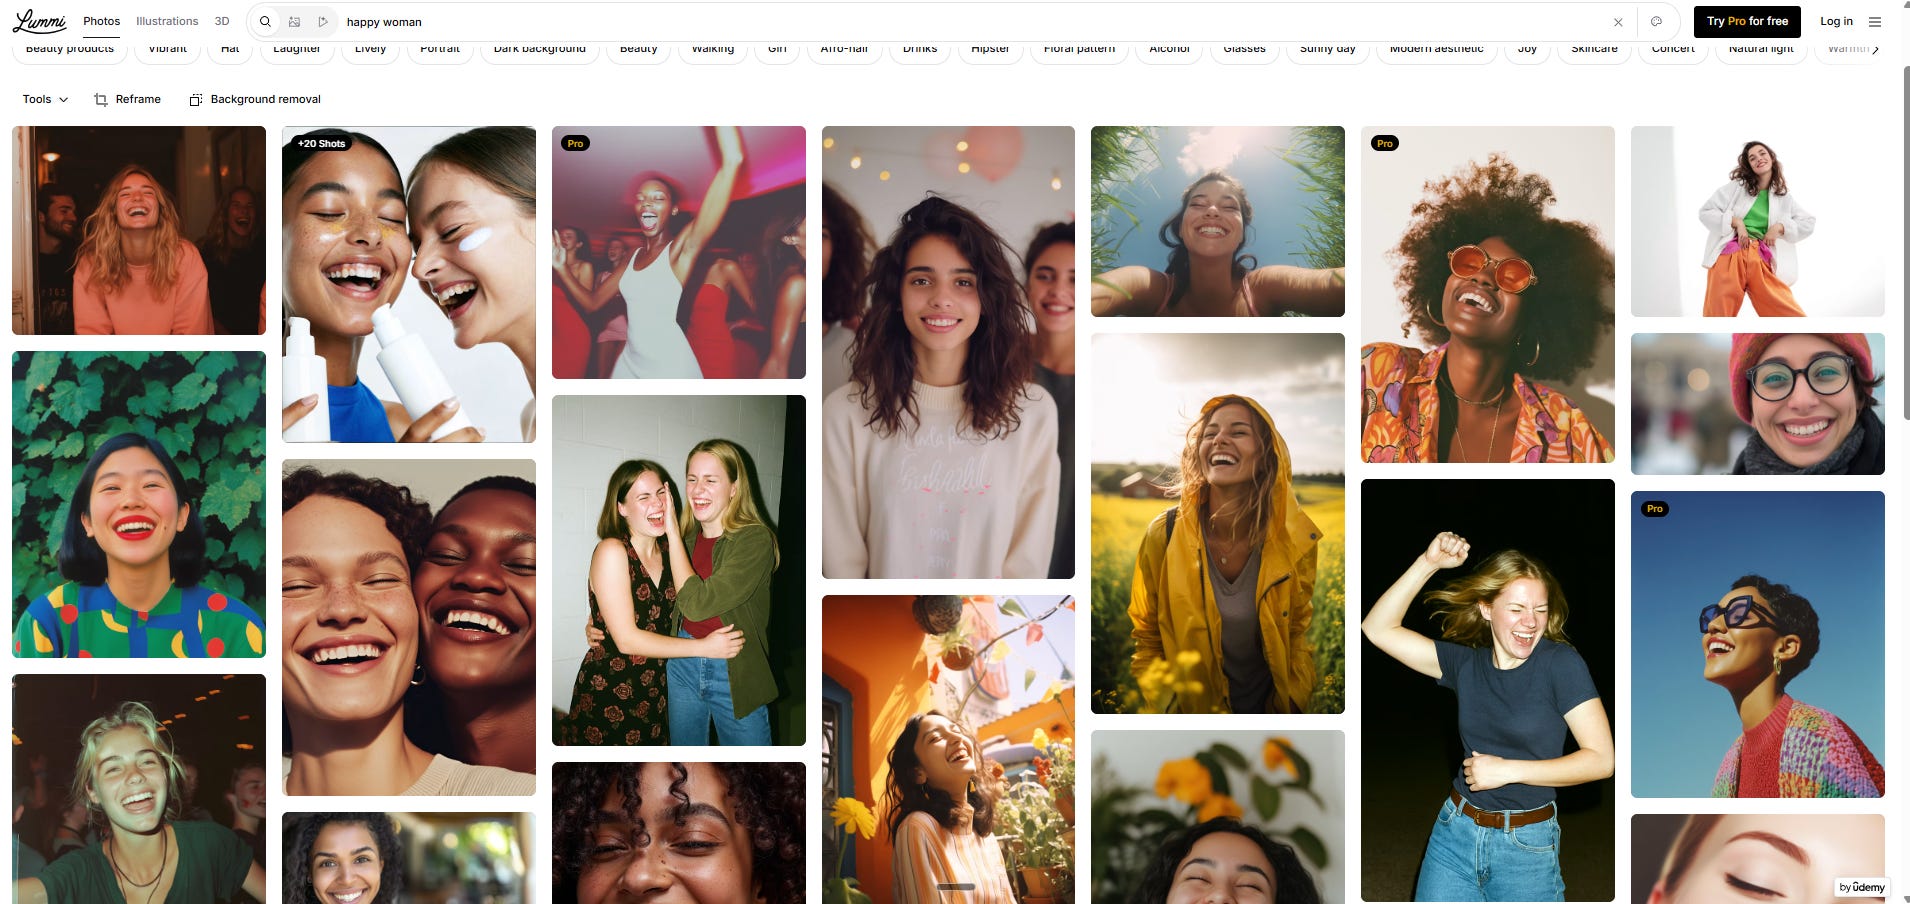
If you want free AI-generated images, Lummi AI is worth exploring.
If you want to create custom-branded images using your own face and style, you can use Canva combined with AI tools. I have written a full post on how to do this, check it out here👇
For the First Time Ever, I Created My LinkedIn Cover Images Without Canva or a Designer — Here’s What I Used Instead

LinkedIn seems to have become a part and parcel of every creator’s life in 2026, including me! I created my first LinkedIn profile when I was working in a corporate job, but that profile eventually had to be deleted. If you want to know the reason, you can find it
3. Add a callout block
A callout block is a visually distinct box that appears inside your post and immediately draws the reader’s eye. It stands out from the rest of your content, which makes it perfect for anything you really want your reader to notice and act on.
Substack allows you to add this natively, so you do not need any third-party tool.
To find it, go to your post editor and look for the (”) button in the formatting bar. Click on it, and you will see three options:
Block quote
Pull quote
Callout block
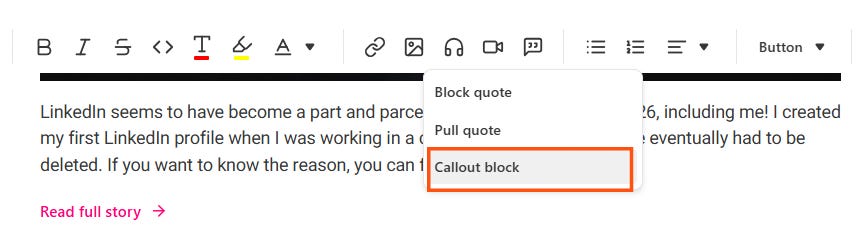
Choose a callout block, and it will appear in your post as a highlighted box.
You can use it to promote your lead magnet, your paid subscription, your freebie, or any offer you want your readers to take action on.
I also use it in a second way. Sometimes I just want to highlight an important line, a key insight, or a thought I really want the reader to pause on. The callout block works beautifully for that, too.
Use it whatever way you like:)
4. Adding videos and gifs
I do not like huge walls of text.
When I see one, my brain just switches off.

I am assuming, actually, I know it for a fact, that most readers who consume content online feel the exact same way. We’re dealing with short attention spans, folks!
That said, I also know that long-form writing is thriving right now.
There are readers out there who will happily read every single word you write if the content is good enough. So, it is NOT a one-size-fits-all situation. It is just that I try to make my posts as engaging and readable as possible, and adding videos and GIFs is one such way to do that.
Note: I am clearly not saying add videos and GIFs to every nook and corner of your post. Think about where it actually makes sense and adds value. If it does not serve the reader or the context, leave it out.
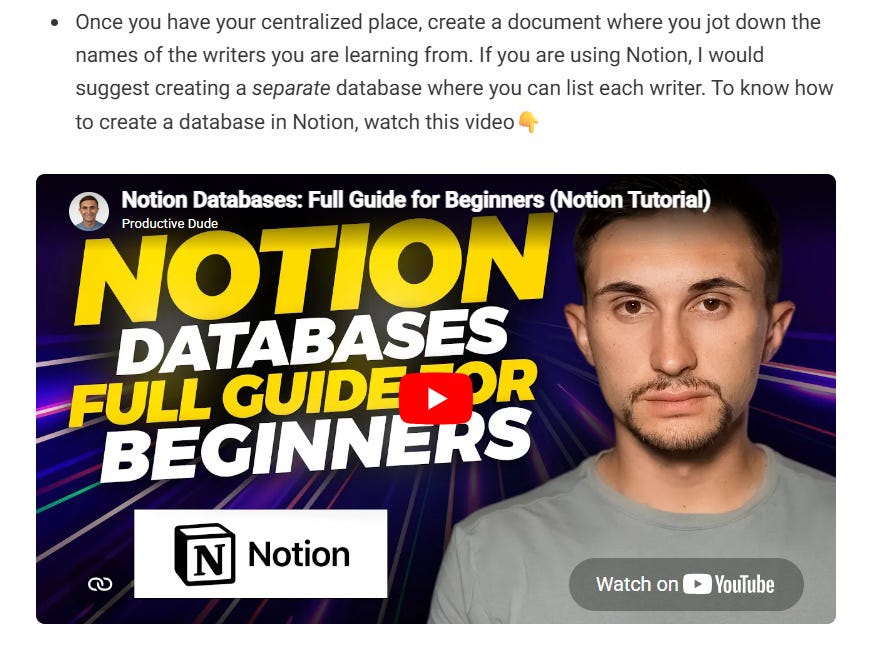
An example of how I add videos to my blogs👇
How to add videos in your Substack posts?
To insert a video in Substack, just click on the video icon in the formatting bar and paste your YouTube link. That’s it!

How to add GIFs in your Substack posts?
Click on the image icon in the formatting bar and select the GIF.
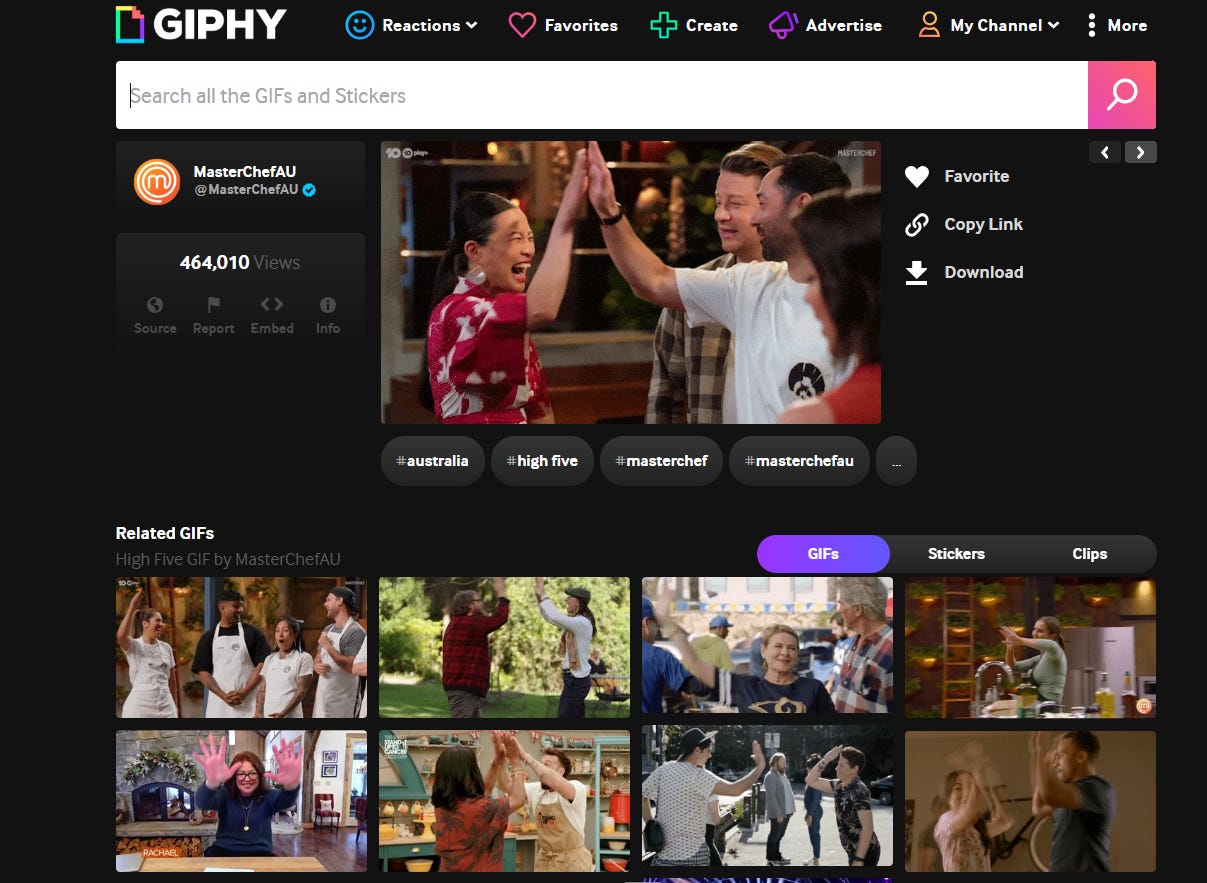
To find eye-catching GIFs, you can use Giphy. I’m using it too!
5. Embed and hyperlink your old post
I already told you about one SEO hack earlier, adding alt text to your images.
This is another one that helps you rank your content and keep readers inside your world for longer.
You might not know this, but I have added my Substack to Google Search Console, and now I can actually see how my posts are performing in search.
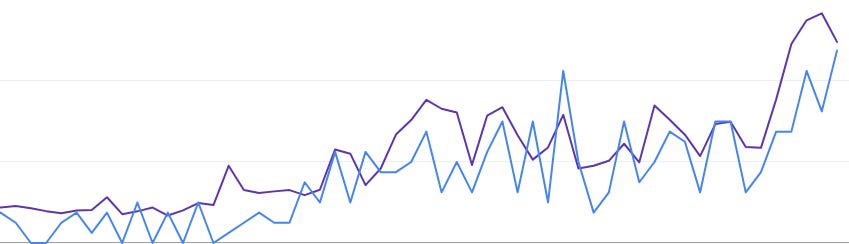
Fun fact: I am already seeing positive results. The organic traffic to my Substack is rising, see the graph👇
After seeing these results, I have become a little more intentional about making my blog posts SEO friendly. One way I am doing this is by embedding and hyperlinking my older blog posts inside my new ones.
What is embedding a post?
Embedding means inserting a full, clickable preview card of your older Substack post directly inside your new post. It shows the title, the subtitle, and the cover image.
On Substack, you can embed your post in three ways:
Small

Medium
13 things I do when I have zero content ideas (they actually work!)

Take help from Pinterest: Pinterest is the first platform I chose to start my creator journey. I am sure you must have used this platform at least once to find inspiration for home decor, quotes, outfits, or designs. Whatever the case, Pinterest is my go-to when my head is spiraling, and I need good ideas. I just type my seed keyword in the search bar a…
Large
How to Post on Pinterest Fast: 4 Best Tips I Use to Create and Publish More Pins in Less Time

Are you a Pinterest creator who is fed up with spending hours just to post a handful of pins?
What is hyperlinking a post?
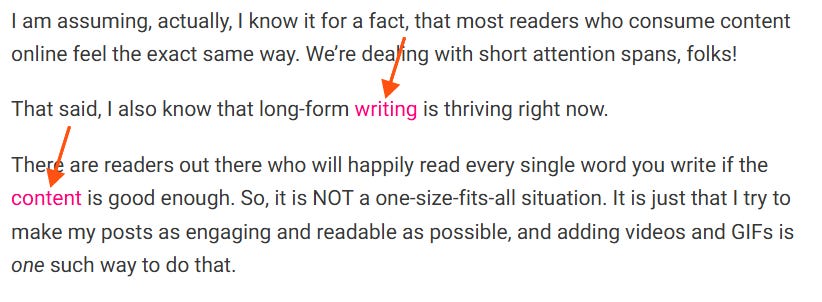
Hyperlinking, in simple terms, means taking a word or phrase inside your text and attaching a link to an older post.
An example of how I hyperlinked to my old posts in this content piece👇
6. Deplatform your audience smartly
I learned this trick from Justin Welsh while reading one of his newsletters.
Deplatforming your audience means transferring them from one social platform to another. In my case, from Substack to LinkedIn, Pinterest, or wherever else I am active.
I create content on four social platforms, and I know that not all of my readers or followers are present on all of them. Everyone has their preferences. But I still want them to know that I am active elsewhere, too.
That’s why I cross-link my posts.
How?
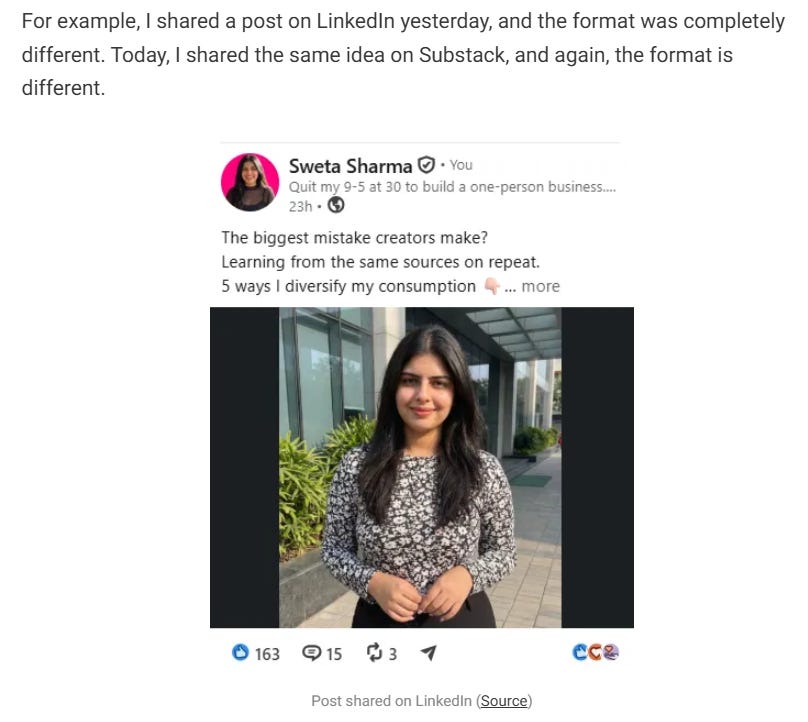
I’ll drop a screenshot of a post I published on LinkedIn or Medium in my Substack post and include a source link so readers can check it out if they want to.
Example👇
If you also create content across different platforms, you can do the same thing.
7. Add a subscribe button
I highly encourage you to actively push people to join your email list because your subscribers are your owned audience. Take that with a pinch of salt: not EVERYONE who subscribes to your newsletter will read your work, but encouraging them to join your clan is still important!
How can you do this?
By adding a subscribe button inside your post.
Before you run to add the button, hear me out!
I have a small trick that I use to place the subscribe button strategically, and I think you should try it that way too.
Here it goes:
If you are writing a short-form post, add the button at the end.
If you are writing a long-form post like this one, add it in two places, somewhere in the middle and at the end.
To add the button, click on the dropdown menu in the formatting bar.
You will see two options:
Subscribe only: a clean button that takes the reader straight to the subscribe prompt
Subscribe with caption: same button but with a short line of text above it, where you can add a little context or a reason to subscribe
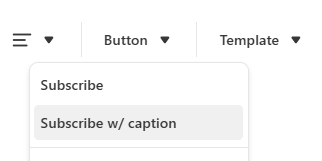
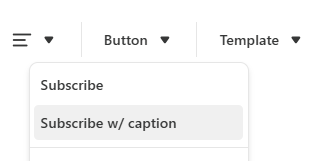
Use whichever feels right for the post you are writing.
Side note: I have to practice what I preach, so here we go: )
8. Read your post out loud
I will not be explaining this tactic in detail because I have already covered it in yesterday's post. Check it out here 👇
How to improve your writing skills faster than 90% of online writers

If you tell me to take a look at some of the first pieces of writing I dared to publish on the web, I would be like, yikkkkkkes.
9. Check your post settings before publishing
When you are about to publish your post on Substack, you have two options.
You can either send it to your subscribers via email or choose to publish it on the web only.
I am currently following a mixed approach.
Since I am on a 100-day writing challenge, I publish one post on Substack every single day. But I do not want to overwhelm my readers by landing in their inbox every day, so apart from Saturday, I choose the web-only option.
On Saturdays, when I send my newsletter, I choose the send via email and Substack app option so it reaches my subscribers properly.
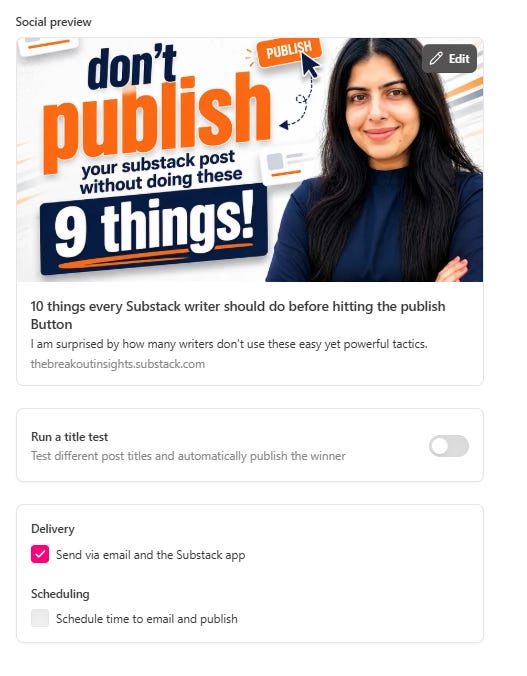
You can also adjust your settings based on your publishing strategy. If you want to send it via email, do that. If you just want it to live on the web, do that too.
Wrapping up…
There ya go!
I hope this post has helped you in some way.
Tell me: what are some things that you keep in mind before hitting the publish button on Substack:)
This is Day 39 of my 100-day writing challenge.
I will see you tomorrow.
Until then:
Keep smiling, keep learning.

Read next:
I Write a Blog Every Day in Less Than 2 Hours (These 11 Things Make It Possible!)
How I Overcame Imposter Syndrome and Grew on Social Media as an Introvert (Yes, It’s Possible!)
How to Become an Online Writer in 2026 Even If You’ve Not Written Professionally Before
If this helped, here’s what to do next📌
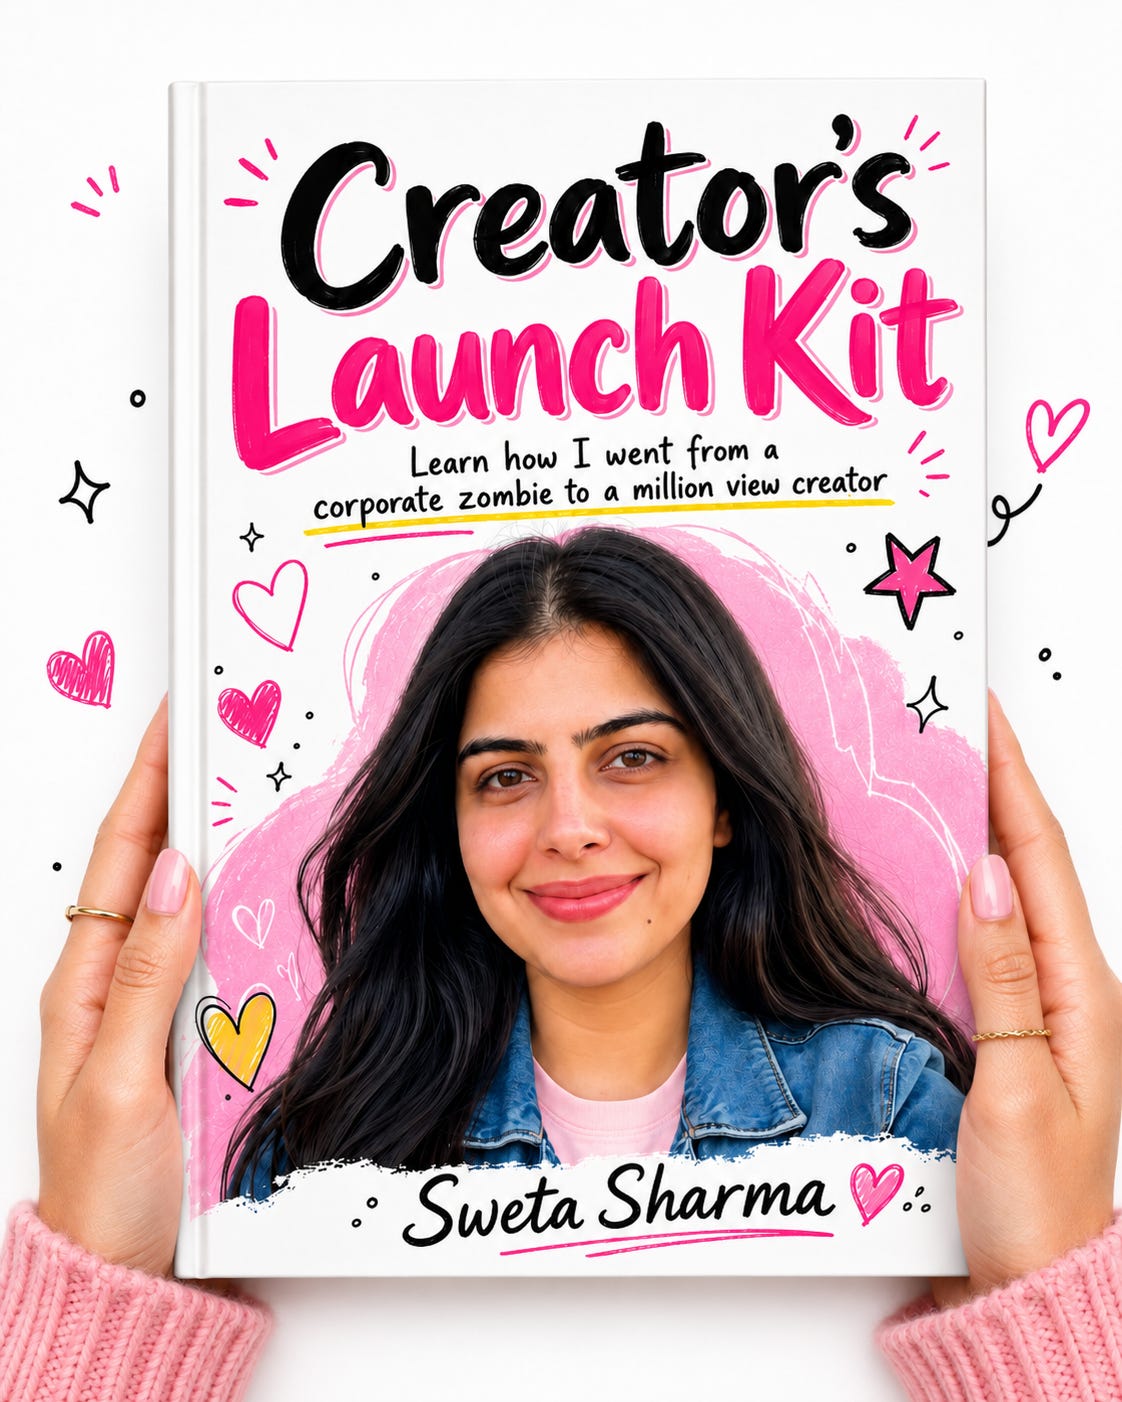
Grab your FREE Creator’s Launch Kit and get the exact system that helped me build my online brand while working 70+ hrs in a corporate job!
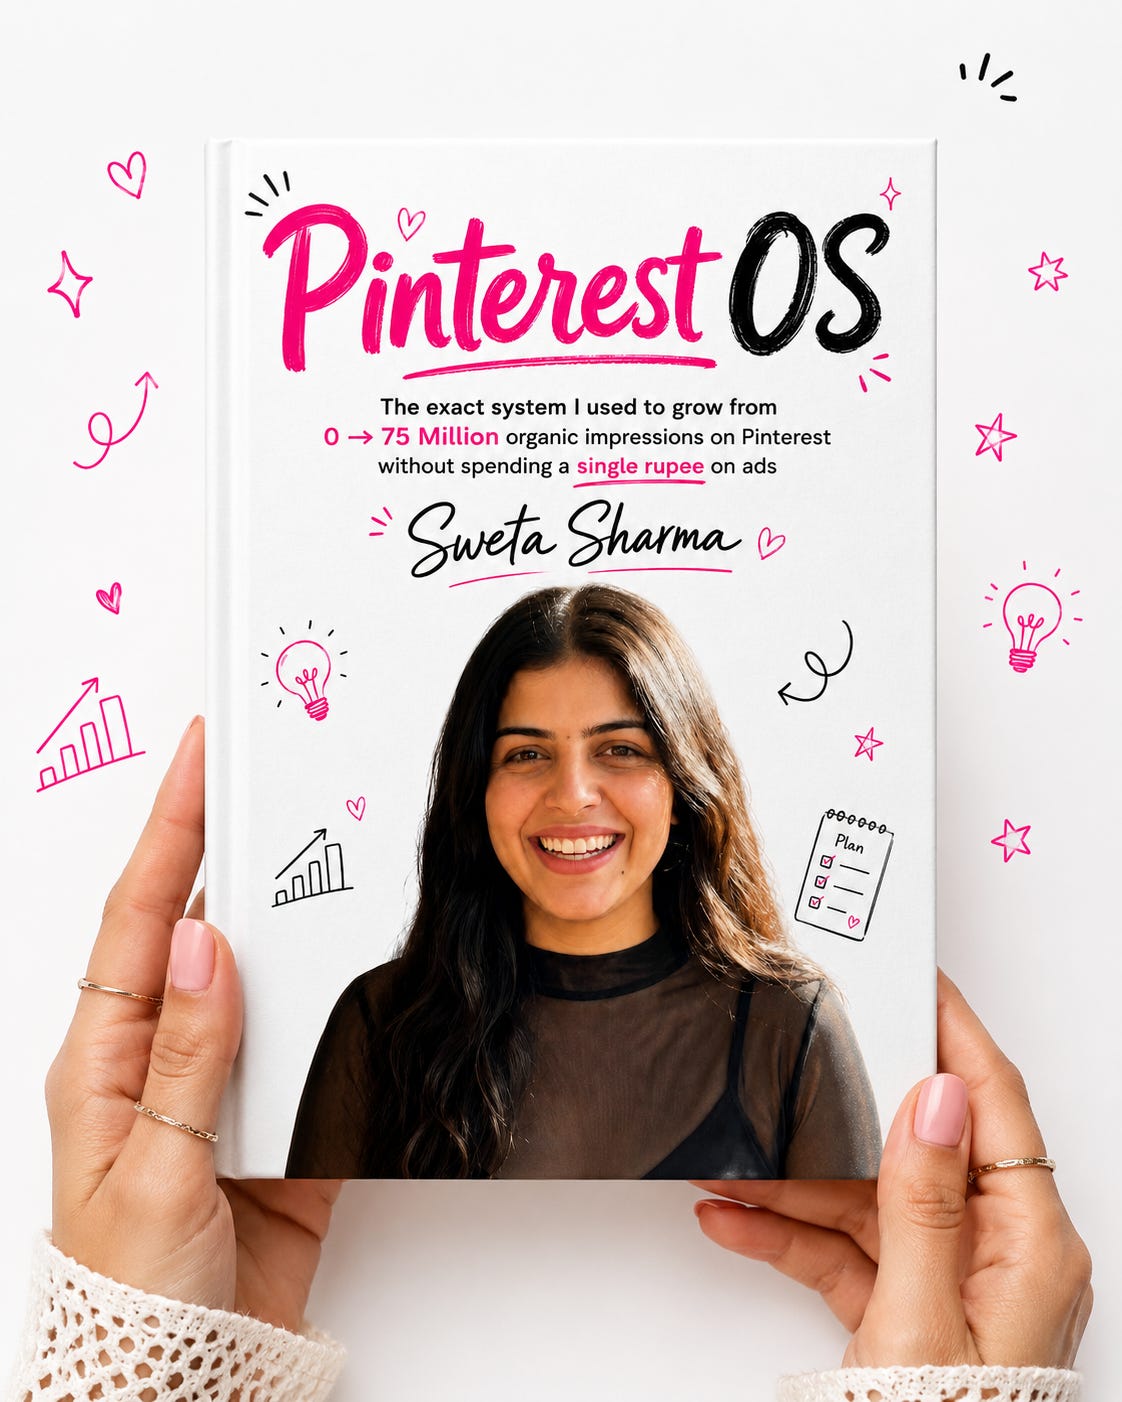
Get access to Pinterest OS: Pinterest is the fastest-growing social platform, and if you’re not using it, you’re missing out on more than 600 million active users. I went from 0 to 75 million impressions without spending a penny on ads. This is the exact system behind that growth.
3. Want to catch me outside Substack? I’m usually hanging out on LinkedIn, Pinterest & Medium. Come say hi👋
About the Author:
Hey! I’m Sweta, the brain behind Breakout Insights. I left my corporate job after facing burnout & toxicity in 2023, and now I’m on my way to building something of my own while helping fellow humans. Here, I share what I’m learning and exploring on my journey as a creator and a human. If that resonates with you, feel free to join the clan:)